How to Replace Drier Filter in a Refrigerator?
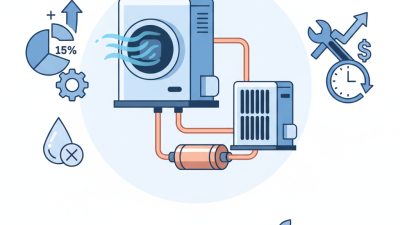
Replacing the drier filter in a refrigerator is a crucial maintenance task that can significantly improve efficiency. According to industry reports, approximately 40% of refrigerators experience cooling issues due to clogged filters. An efficient drier filter refrigerator removes moisture and debris from the refrigerant, preventing damage to the system.
Many homeowners overlook this component, leading to costly repairs. A malfunctioning filter can strain the compressor, causing it to work harder than necessary. This not only increases energy consumption by up to 30%, but it can also shorten the appliance's lifespan. Attention to the drier filter is essential for maintaining optimal refrigerant flow and overall cooling performance.
While some may find the replacement process daunting, it is a manageable task. However, inadequate knowledge can lead to improper installation. Proper tools and techniques are critical for success. Taking the time to understand the steps involved can save money and enhance the refrigerator's efficiency. It’s worth reflecting on how often this task is overlooked and the potential consequences that follow.
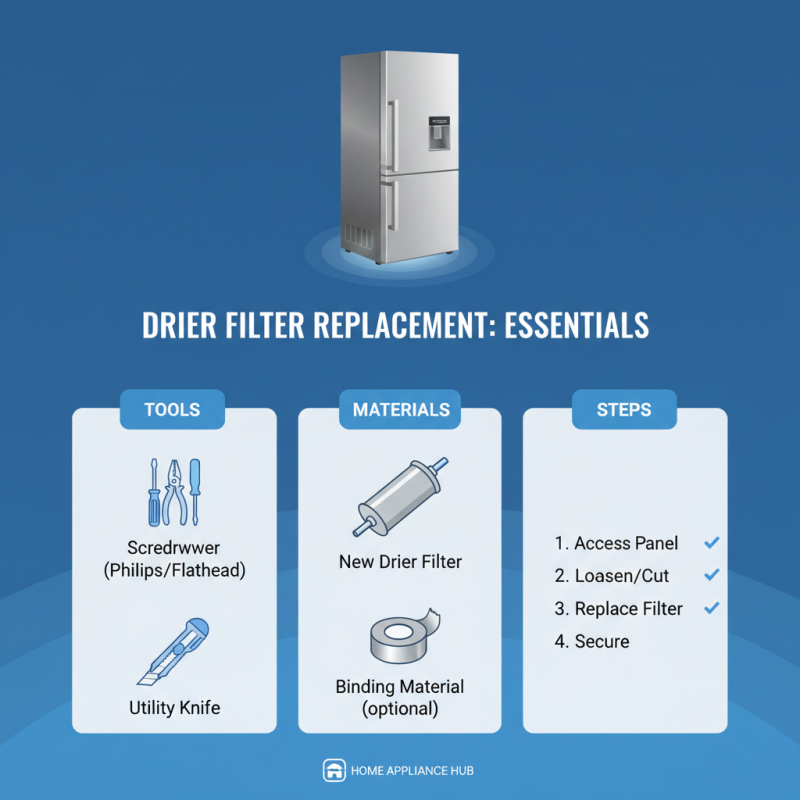
Tools and Materials Needed for Drier Filter Replacement
When replacing a drier filter in your refrigerator, the right tools and materials are crucial. Start with a screwdriver. A flathead or Phillips screwdriver will help you open the refrigerator's access panel. You might also need pliers, especially if the filter is stuck. A utility knife can be handy for cutting any binding materials.
Next, gather the new drier filter. Ensure it matches the specifications of your refrigerator. A towel can catch any spills during the replacement. Additionally, gloves are useful to keep your hands clean. If you’re unsure of what you need, consult the user manual or look for online guides. It’s easy to overlook small details, so take a moment to double-check your supplies.
Remember, not all tools will work for every model. This can cause frustration and lead to mistakes. Take your time measuring and identifying parts. It’s better to pause and think than to rush and regret later. Adjust your process if things don't fit as planned. Repair tasks can be unpredictable. Embrace the learning curve.
Identifying the Correct Drier Filter for Your Refrigerator
When it comes to refrigerator maintenance, identifying the correct drier filter is crucial. The drier filter ensures that moisture does not affect the cooling system.
Start by checking your refrigerator's manual. It often contains detailed specifications. If you are unable to find it, measure the old filter. This will provide you with the dimensions needed for a new one.
Various styles are available. Ensure that you match the shape and size precisely.
A few tips can simplify your search. Photo documentation helps; take pictures of your old filter. This visual record can guide you in stores or online.
Many retailers offer customer service to assist with filter selection. Don’t hesitate to ask for help. If confused by options, narrow your choice to fit your needs.
Be mindful that some filters may seem compatible but might not function correctly. Always verify compatibility by double-checking product details.
Mistakes can lead to inefficiency and cooling issues. Measure twice, buy once. A wrong filter can lead to leaks or damage.
These situations cause more frustration than anticipated. Take your time in the selection process. This careful approach saves effort later.
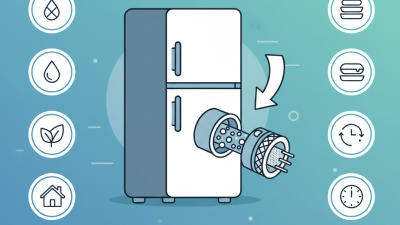
Step-by-Step Guide to Accessing the Drier Filter
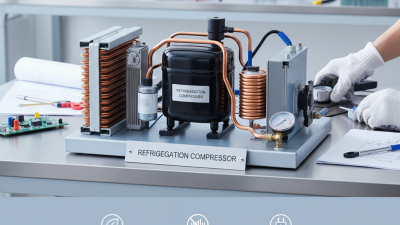
To access the drier filter in your refrigerator, preparation is key. Start by emptying the fridge. This helps to prevent spills and ensures that nothing obstructs your work. The drier filter is often located near the compressor. You'll need to remove the back panel to access this area. Most appliances might have screws that require a screwdriver. A professional appliance repair report indicates that improper handling can lead to damage, increasing repair costs.
Once you have exposed the drier filter, inspect it for any signs of wear or moisture accumulation. This can affect cooling efficiency. Industry data shows that a clogged drier filter can reduce cooling power by up to 30%. Cleaning the filter may be possible, but consider replacing it if it's heavily contaminated. Make sure the replacement part matches the specifications of your fridge model.
After replacing the filter, reassemble everything carefully. Tighten all screws, ensuring no parts are loose. It's often easy to overlook these details, yet they are critical. A misaligned panel may cause further issues down the line. Remember, a well-maintained refrigerator can enhance energy efficiency and extend its lifespan, saving you money long-term.
Refrigerator Drier Filter Replacement Steps
How to Safely Remove and Replace the Drier Filter
Replacing the drier filter in a refrigerator can seem intimidating, but it doesn't have to be. Start by unplugging the machine. This ensures your safety while you work. Gather your tools—a screwdriver, a replacement filter, and perhaps a small towel. You may spill some refrigerant, so be ready.
Carefully locate the drier filter inside your appliance. It often sits near the compressor. If you struggle to access it, think about how you can maneuver. Loosen the screws with a screwdriver. Keep them in a safe place. Once the screws are off, gently pull the old filter out. Examine it for damage or dirt. This gives you a clue about the state of your refrigerator’s system.
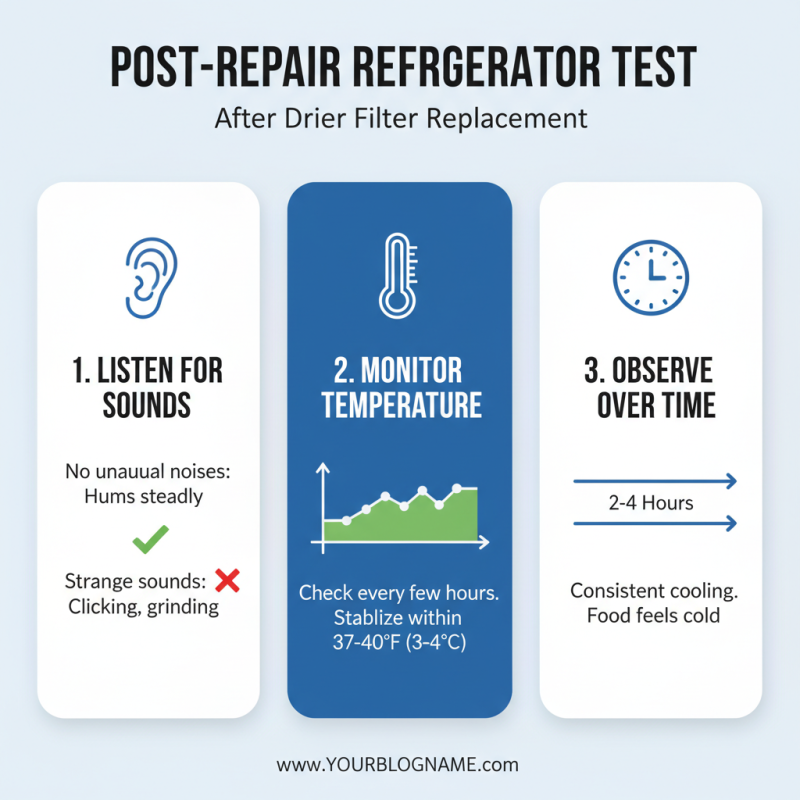
Installing the new filter is the next step. Slide it into place with care. Reattach the screws, but don’t overtighten. Doing so may damage the unit. Finally, plug the refrigerator back in and monitor its performance. Look for any unusual noises or leaks. It’s okay if this process feels overwhelming. Many stumble on their first try. Each attempt improves your skills.
How to Replace Drier Filter in a Refrigerator? - How to Safely Remove and Replace the Drier Filter
| Step |
Description |
Tools Required |
Safety Tips |
| 1 |
Unplug the refrigerator from the power source. |
None |
Always ensure the appliance is disconnected before starting work. |
| 2 |
Locate the drier filter in the refrigeration system. |
Flashlight (optional) |
Wear gloves to protect your hands. |
| 3 |
Remove the old drier filter by unscrewing or unclipping it. |
Screwdriver, Pliers |
Be cautious of sharp edges while removing the filter. |
| 4 |
Install the new drier filter following the manufacturer's instructions. |
None |
Ensure the filter is securely fastened. |
| 5 |
Reconnect the refrigerator to the power source. |
None |
Double-check that all components are reassembled properly. |